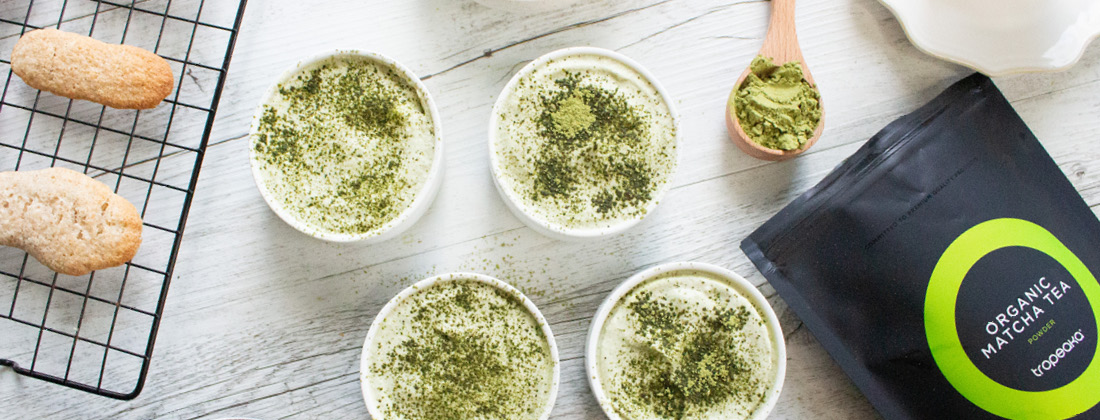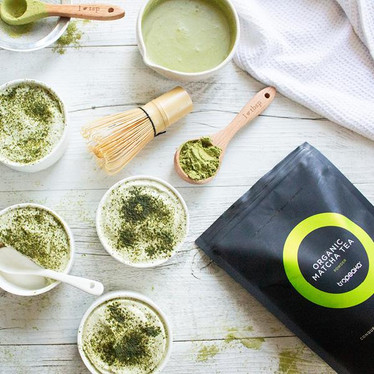
Healthy twist on the classic tiramisu? This vegan matcha tiramisu is humming with nutritious ingredients to help you feel your best.
Creamy layers of coconut cream and yoghurt form the base for this deliciously decadent dessert. Infused with earthy, subtly sweet flavours of matcha – it's a trip for your tastebuds and warm hug for your wellness.
Better yet – this recipe is completely plant-based, making it superb if you’re steering clear of dairy, or if you’re vegan.
Your nutritional powerhouse: Tropeaka Matcha Powder
Appreciated for its energising properties – without the jitters, Matcha is a perfect alternative to your morning coffee. It contains a moderate amount of caffeine – providing you with a gentle and sustained energy boost. And a hit of antioxidant goodness.
Matcha also contains L-Theanine, an amino acid which can be taken as a supplement to support calm and relaxation. Awesome right?
Ingredients:
Vegan sponge finger biscuits
- 1 cup Chantal Organics Wholemeal Flour, sieved
- 1/4 teaspoon baking powder
- 1/4 teaspoon salt
- 1/2 teaspoon cornflour
- 1/2 cup aquafaba (liquid from canned chickpeas)
- 1/2 cup granulated sugar
- 1 teaspoon vanilla extract
Matcha cream
- 1 cup coconut cream solids
- 1 cup coconut yoghurt
- 2 Tablespoons Tropeaka Matcha Tea - Powder
- 2 Tablespoons Chantal Organics Rice Syrup or liquid sweetener
- 1 teaspoon vanilla extract
Matcha latte
- ½ cup strongly brewed matcha latte, cooled
- 1 Tablespoon Chantal Organics Rice Syrup or liquid sweetener
Method:

- To make the sponge fingers, preheat your oven to 175°C and line a baking sheet with baking paper.
- In a medium-sized bowl, whisk together flour, baking powder, and salt. Set aside.
- In a large mixing bowl, add the aquafaba and corn flour. Using an electric mixer, beat the aquafaba mixture on medium speed until it becomes frothy, about 3-4 minutes.
- Gradually add the granulated sugar to the aquafaba mixture while continuing to beat at medium speed. Beat until the mixture forms stiff peaks, similar to the consistency of whipped egg whites. This can take about 8-10 minutes. Add the vanilla to the aquafaba mixture.
- Gradually fold the dry flour mixture into the aquafaba mixture, folding gently with a spatula until combined. Be careful not to overmix, as this can deflate the batter. Transfer the batter to a piping bag fitted with a plain round tip (approximately 1cm in diameter).
- Pipe the batter onto the prepared baking sheet, creating finger-shaped cookies that are about 8-10cm in length. Leave about 2cm of space between each cookie.
- Bake in the preheated oven for 10-12 minutes, or until the cookies are lightly golden around the edges.
- Remove from the oven and let the cookies cool on the baking sheet for a few minutes, then transfer them to a wire rack to cool completely.
- Once the cookies have cooled, they are ready to be assembled in your tiramisu.
- Meanwhile to make the matcha cream, in a mixing bowl, add the coconut cream solids (this is the thick solidified part at the top of a can of coconut cream), and whip until smooth, then add in the coconut yoghurt, matcha tea powder, sweetener syrup, and vanilla extract. Mix together with an electric mixer until well combined, smooth and thickened (about 5-10 minutes). Taste and adjust the sweetness if needed.
- Refrigerate.
- Make up a strongly brewed matcha latte. Layer sponge finger biscuits in a single layer at the bottom of a serving dish. You can either use a 20x20 dish or small single-serve ramekins.
- Once you have created the first layer of sponge finger biscuit, spoon over a little matcha latte, just enough to moisten the biscuits, then spread a generous layer of the matcha cream over, covering the biscuits completely.
- Repeat the process with another layer of sponge finger biscuit followed by a layer of matcha coconut cream. Place into the fridge to set for 2-4 hours to let all the flavours infuse.
- Before serving, dust the top layer with matcha powder using a fine-mesh sieve. Serve chilled.
Sponge Fingers: Makes: 24 biscuits | Prep time: 10 minutes | Cook time: 12 minutes
Tiramisu: Makes: 4 servings | Prep time: 10 minutes | Total time: 32 minutes
Dietaries: Dairy Free | Vegan | Keto
| Explore all recipes → | Top up your pantry → |

